In a previous article I explained how to create a Conan package. In this article I’m going to show the steps needed to publish it, so it can be used by anyone.
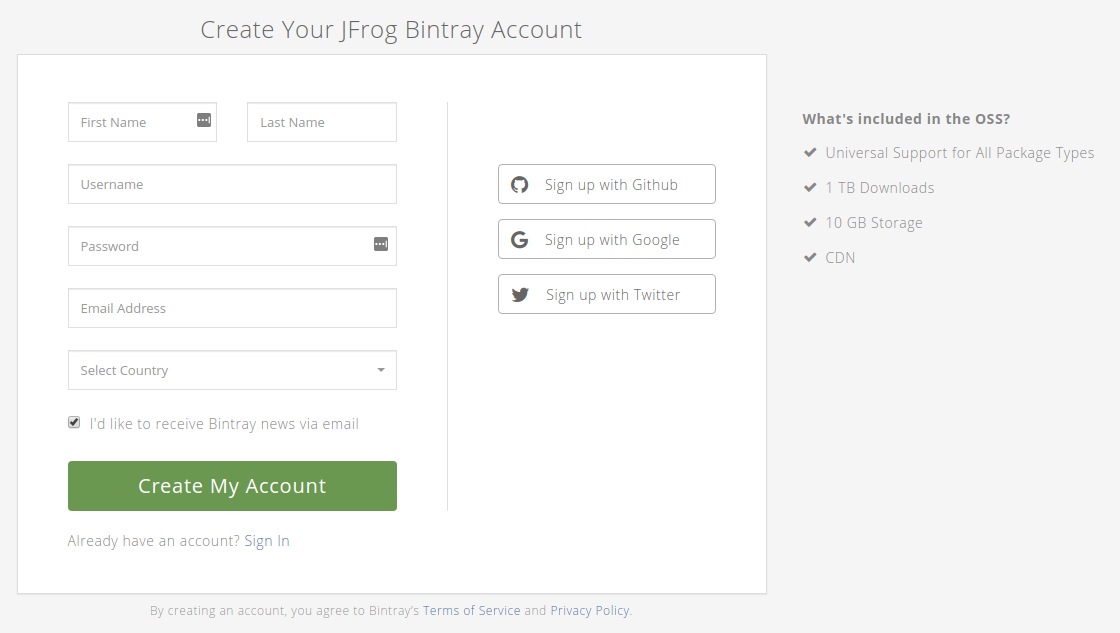
After we have our Conan package ready, we need to create a JFrog Bintray account.
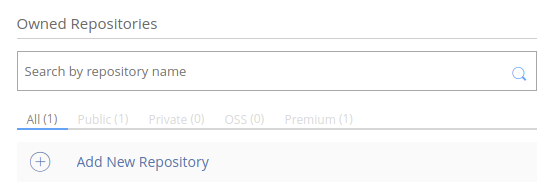
The next step is to create a new repository:
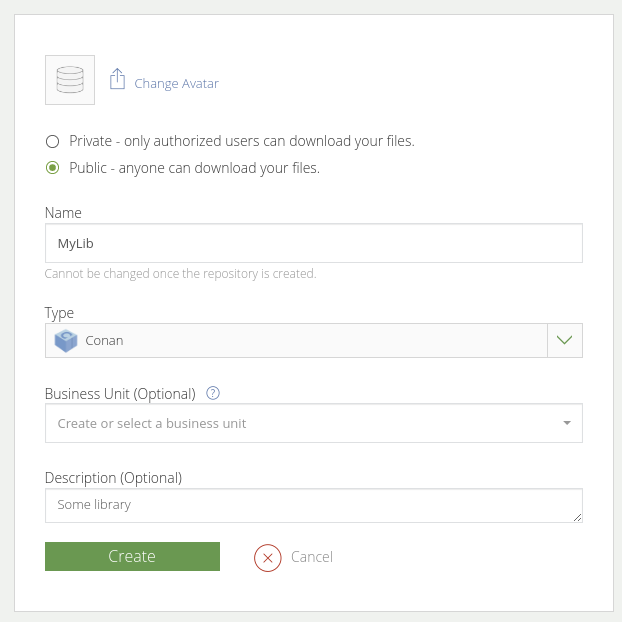
And fill some data about the project:
The repository is the place where you will upload the different packages for the project. Most likely a package per new version:
Once we have the repository ready. We need to add it to conan:
1
conan remote add myrepo https://api.bintray.com/conan/myself/myrepo
You can find the correct URL to use, by clicking the “Set me up” button:
Bintray won’t let just anybody push packages to our repo, so we need a way to tell Bintray who we are when we try to publish a package.
To get an API key, go to Edit profile:
The API key can be found in the API Key section:
With the key in hand:
1
conan user -p 1234bda5f75876882845d728989b6340ba23 -r myrepo myself
The hexadecimal number is the key. myrepo is the name of the remote we added in the previous step and myself is your Bintray username.
To publish the package:
1
conan upload -r myrepo MyLib/0.1
Again, myrepo is the remote name, and MyLib/0.1 is the name and version of the package we want to publish.
And that’s it. We have published a package to the world.
Using our published package
I have an article that explains how to consume packages using Conan, so I’m just going to show the changes necessary to consume our new package.
First we need to add our library as a requirement in conanfile.txt:
1
2
3
4
5
6
[requires]
boost/1.69.0@conan/stable
MyLib/0.1@myself/MyLib

[generators]
cmake
MyLib/0.1 is the name and version of the package. myself/MyLib is the username of the Bintray account and the name of the repository where the package was uploaded.
The only other step is using the library. An example could be:
1
2
3
4
5
6
7
8
#include <boost/uuid/uuid_generators.hpp>
#include <MyLib.h>

int main() {
  MyLib a;
  a.doNothing();
  const auto uuid = boost::uuids::random_generator();
}
Now you can create, publish and use, your own open source libraries.
c++ programming dependency_management 


