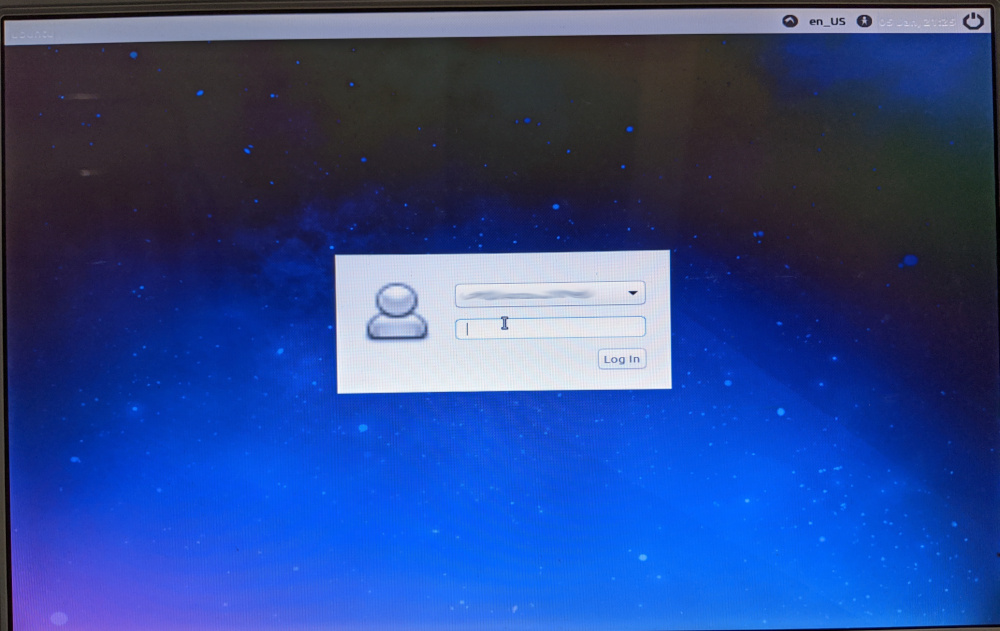
A family member told me her computer was very slow and asked me if I could do something about it. Her computer was pretty old and was running some version of Windows, but since she used it mostly for browsing and storing photos, I told her installing some light version of Linux might help it run a little faster.
The machine has an AMD 64x2 processor and 1 GB of RAM. Looking at the requirements for Ubuntu, I found that it recommends 2 GB of RAM so I decided to try Lubuntu, which uses a lighter desktop environment. I expected this to be a very simple task, but I ran into issues with the graphics card.
Enabling safe graphics
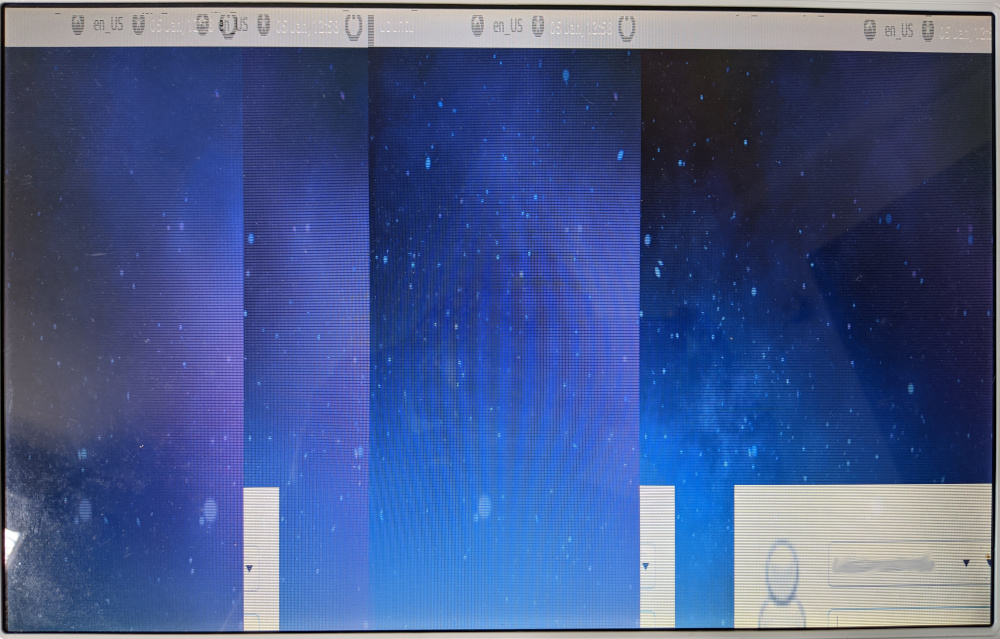
I downloaded the latest stable version of Lubuntu and created a bootable USB with it. After the installation was over and I booted for the first time, the graphics were so broken I couldn’t really use the computer:
To mitigate this issue I had to configure Lubuntu to start using safe graphics mode. The first step was to press Ctrl + F2 to get a terminal. The graphics still looked pretty bad, but it was at least usable. Then I modified grub configuration:
1
sudo vi /etc/default/grub
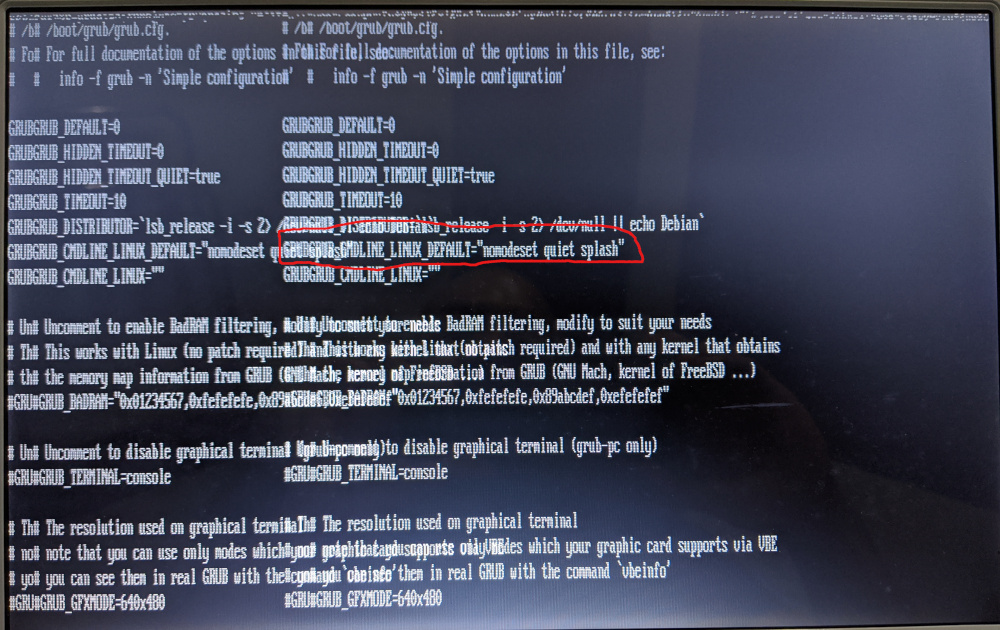
Added the nomodeset to GRUB_CMDLINE_LINUX_DEFAULT. It can be added at the beginning or the end. It doesn’t really matter:
After changing this, I had to update grub to use the new configuration:
1
sudo update-grub
And finally, restart the computer:
1
sudo restart now
If your graphics are completely broken and you can’t see anything, you can also modify the boot options before Ubuntu is loaded.
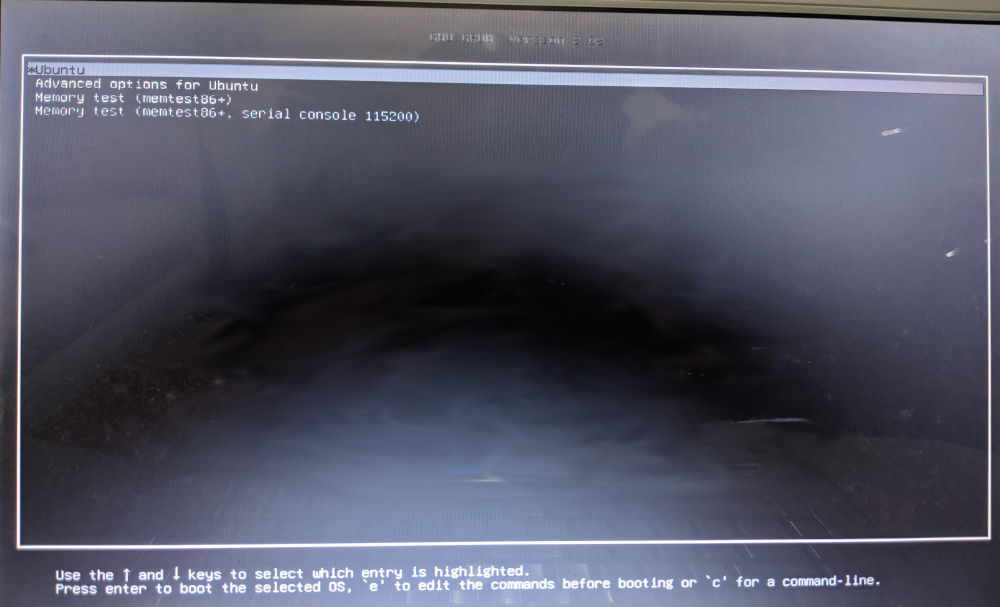
After your bios splash screen, press and hold shift. This will show you the grub boot options:
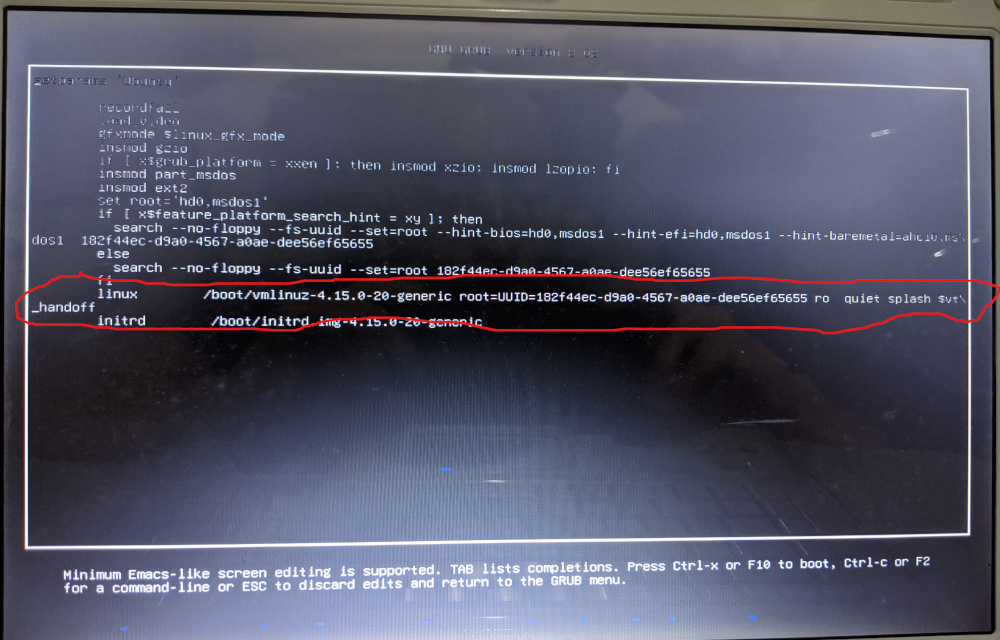
In that screen, press e and it will take you to the boot options. Add nomodeset to the line that contains the linux command:
Then press F10 to boot using those options.
Ubuntu will load with low resolution graphics, but in a usable state:
Fixing the graphics
Once I got the machine to a usable state, I updated the system:
1
2
sudo apt update
sudo apt upgrade
I used lshw to find out which graphics card the machine is using:
1
2
3
4
5
6
7
$ sudo lshw -c display

...
  product: C67 [GeForce 7150M / nForce 630M]
  vendor: NVIDIA Corporation
...
Then I went to Nvidia’s linux drivers page and clicked through all the Linux x86_64 links until I found the driver version that supports this graphics card. After a few clicks I found that version 304.137 was the one I need.
Before I could install the driver I had to download some dependencies:
1
sudo apt install binutils build-essential dkms mesa-utils
I also needed to download a patch. To apply it, I put the driver and the patch in the same folder and used the following commands:
1
2
3
4
5
chmod +x NVIDIA-Linux-x86_64-304.137.run
./NVIDIA-Linux-x86_64-304.137.run -x
mv nvidia-304.137-bionic-18.04.patch NVIDIA-Linux-x86_64-304.137
cd NVIDIA-Linux-x86_64-304.137
patch -p1 < nvidia-304.137-bionic-18.04.patch
To install the driver X Sever needs to be stopped. Get a terminal with Ctrl + F2 and use these commands as root:
1
2
3
systemctl stop lightdm
init 3
./nvidia-installer
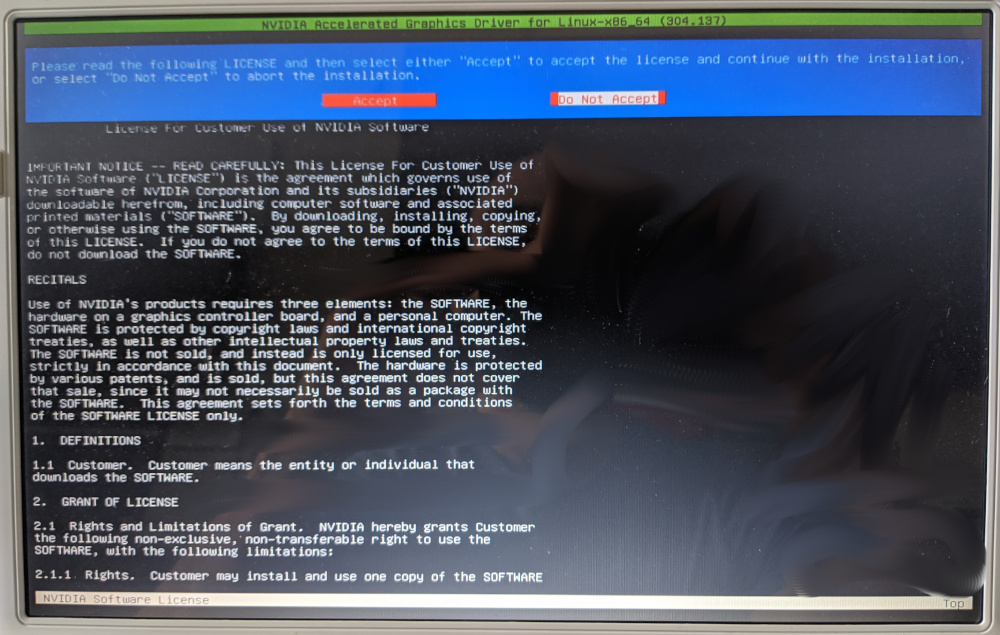
I accepted the license:
Ignored the pre-install script failure:
I registered the changes with DKMS, so I don’t need to re-install the driver if the kernel is updated:
Installed Nvidia’s compatibility library:
Allowed it to update X server configuration:
And I was done:
For the new configuration to take effect I just had to restart the computer:
1
reboot
Conclusion
I have installed Linux in a few machines in the last years and it was a pretty smooth experience. It had been a while since I had to troubleshoot issues after installation, luckily Alex described with a lot of detail how to fix the exact issue I was facing.
linux debugging 