I’m going to start working a lot with AWS, so I will need to get familiar with they’re tools. One of the most important tools to get familiar with, is their CLI.
Although it is possible to do most things from AWS management console, learning how to use the CLI allows for scripting and automation, which can help increase productivity.
Installation
To install AWS CLI we need Python 3.4 or later. Use --version to verify it’s installed:
1
python3 --version
We also need pip3. To install it:
1
sudo apt install python3-pip
To install AWS CLI:
1
pip3 install awscli --upgrade --user
Since we used the --user option, the binary is installed in ~/.local/bin/aws, let’s add this folder to our PATH:
1
2
echo "export PATH=\$HOME/.local/bin:\$PATH" >> ~/.bashrc
. ~/.bashrc
We can now use the aws command:
1
2
aws --version
aws-cli/1.17.9 Python/3.7.5 Linux/5.3.0-29-generic botocore/1.14.9
Creating an admin user
When we open an AWS account, we are the root of that account. It is recomended to create a separate IAM (Identity and Access Management) admin user for the CLI.
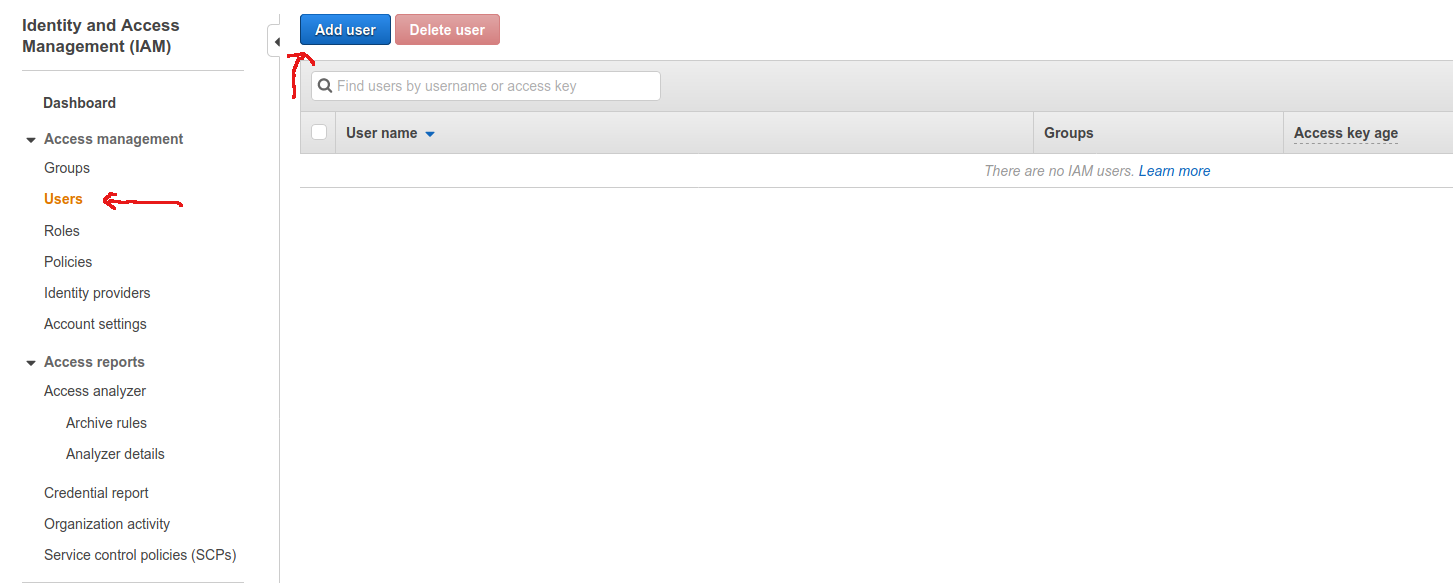
To create our user, we need to go to the IAM console. Select Users on the left menu and then Add user.
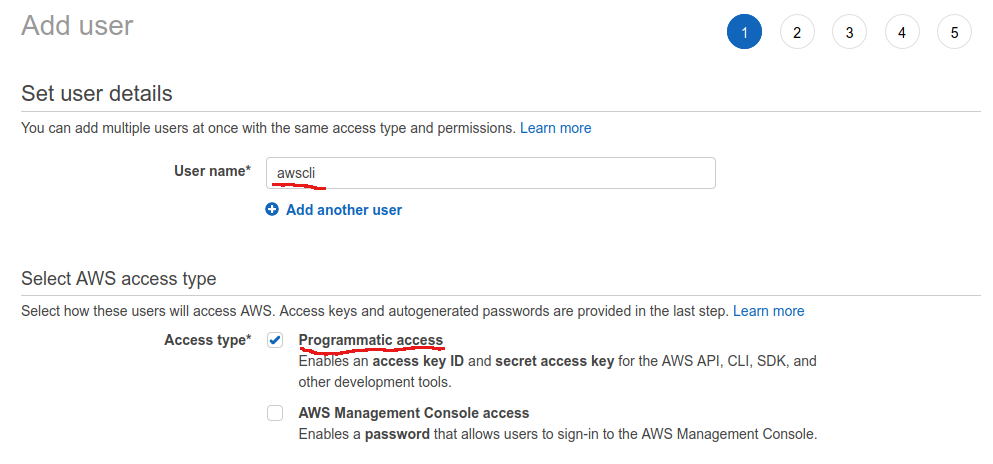
The first step is to choose a user name and what kind of access we want for the user, I chose awscli as user name and only programmatic access:
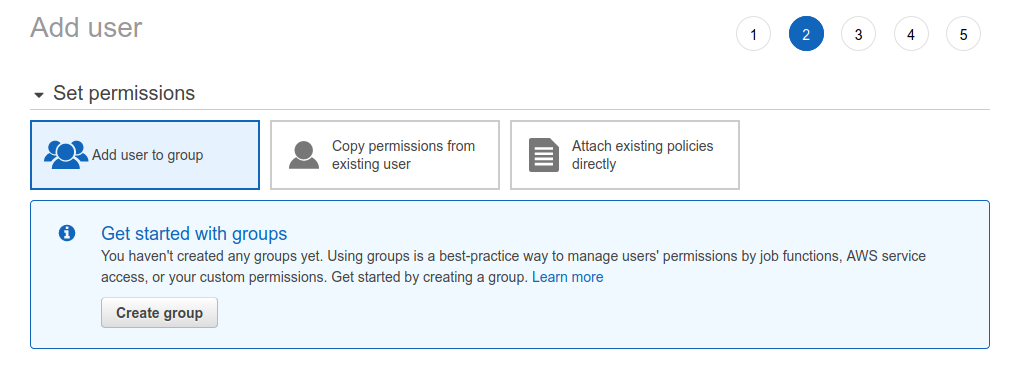
The next step is to choose the permissions for the user. I chose to add my user to a group, and created a new group. I named the group Administrators.
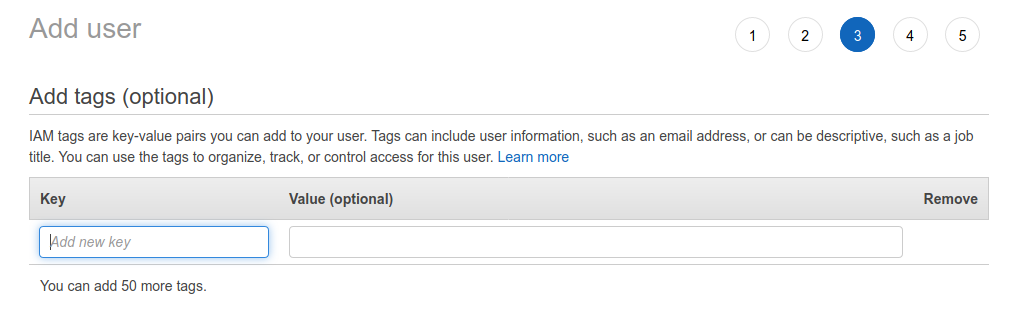
Next we are asked to add tags to the user. I didn’t add any:
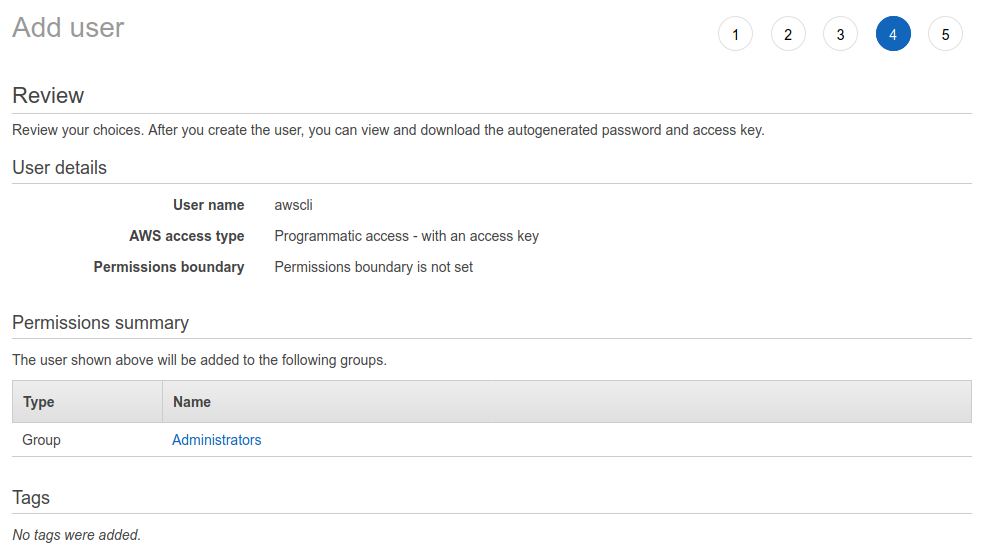
We can then review the user:
And we’ll finally have our user created.
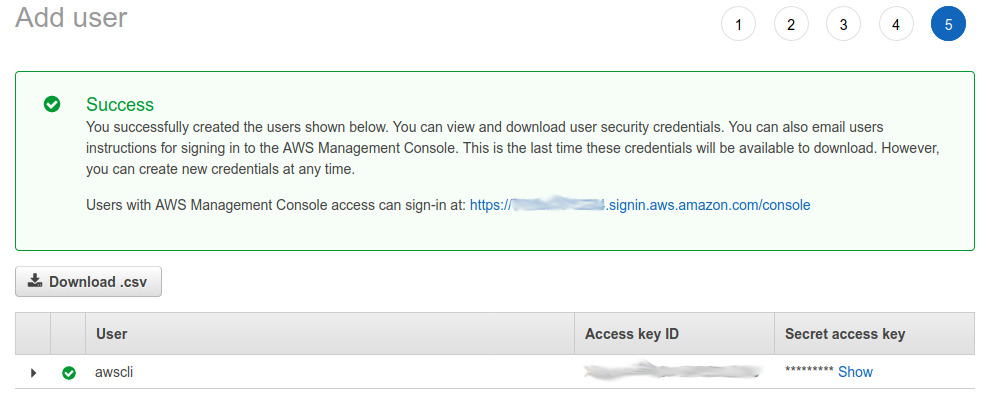
This screen will show the Access key ID and Secret access key for the user. We will need this information to configure the CLI. This is the only time this information is given to us, so it’s important to save it somewhere safe (a password vault) so we can get it in the future if we need it.
Configuration
Now that we have our admin user, we can configure the CLI, so it can create resources on our AWS account.
1
aws configure
We are prompted for the Access key ID and Secret access key from the previous step. In addition to that, we are prompted for a default region (Region where resources will be created if no region is specified) and output format (json, yaml, text or table) for the result of running a command.
The input is saved in ~/.aws/credentials (The access key ID and secret access key) and in ~/.aws/config.
It is possible to register multiple profiles (linked to different AWS accounts) in the same machine, but I’m not going to cover how to do that in this article. The keys we configured are going to be used by AWS CLI unless specified otherwise (with command line arguments or environment variables, for example).
Command line completion
AWS CLI comes with a command line completion program that is installed along the aws command. To enable it for bash:
1
2
echo "complete -C 'aws_completer' aws" >> ~/.bashrc
. ~/.bashrc
Now we can use the tab key to autocomplete commands.
Usage
AWS CLI can be used to manage most resources provided by AWS, so I won’t be covering all the options available. We can find information about the multiple commands supported by the CLI:
1
aws help
This command will show the command line arguments that can be used with aws, as well as a list of the services that it can manage. To get information about a specific service:
1
aws rds help
A common task that we might want to do with AWS CLI is create a virtual machine (EC2 instance). Before we can create the virtual machine, we need to decide which image (operating system) we want to use. To see all the available images created by Amazon:
1
aws ec2 describe-images --owners amazon
This will return a huge list of images. To find the latest Ubuntu LTS image we can use this command (You might need to modify the commad to fit the name and version of the latest LTS):
1
2
aws ec2 describe-images --owners 099720109477 --filters \
'Name=name,Values=ubuntu/images/hvm-ssd/ubuntu-bionic-18.04-amd64-server-????????' 'Name=state,Values=available' --query 'reverse(sort_by(Images, &CreationDate))[:1]'
At the time of this writing, this is the output:
1
2
3
4
5
6
7
8
9
10
11
12
13
14
15
16
17
18
19
20
21
22
23
24
25
26
27
28
29
30
31
32
33
34
35
36
37
38
39
40
[
    {
        "Architecture": "x86_64",
        "CreationDate": "2020-02-04T18:52:10.000Z",
        "ImageId": "ami-04c7af7de7ad468f0",
        "ImageLocation": "099720109477/ubuntu/images/hvm-ssd/ubuntu-bionic-18.04-amd64-server-20200131",
        "ImageType": "machine",
        "Public": true,
        "OwnerId": "099720109477",
        "State": "available",
        "BlockDeviceMappings": [
            {
                "DeviceName": "/dev/sda1",
                "Ebs": {
                    "DeleteOnTermination": true,
                    "SnapshotId": "snap-09a2da60644ad7422",
                    "VolumeSize": 8,
                    "VolumeType": "gp2",
                    "Encrypted": false
                }
            },
            {
                "DeviceName": "/dev/sdb",
                "VirtualName": "ephemeral0"
            },
            {
                "DeviceName": "/dev/sdc",
                "VirtualName": "ephemeral1"
            }
        ],
        "Description": "Canonical, Ubuntu, 18.04 LTS, amd64 bionic image build on 2020-01-31",
        "EnaSupport": true,
        "Hypervisor": "xen",
        "Name": "ubuntu/images/hvm-ssd/ubuntu-bionic-18.04-amd64-server-20200131",
        "RootDeviceName": "/dev/sda1",
        "RootDeviceType": "ebs",
        "SriovNetSupport": "simple",
        "VirtualizationType": "hvm"
    }
]
Now that we have the ImageId, we can create an EC2 instance:
1
aws ec2 run-instances --image-id ami-04c7af7de7ad468f0 --instance-type t2.micro --count 1
The command will start a single ec2 instance running Linux.
Conclusion
As I mentioned before, you can manage most resources with AWS CLI. In this article I covered the basics of how to use it, so you can use the documentation for reference when you need to perform a specific task.
automation aws productivity