I’ve been writing this blog for a while and I recently thought it would be nice if it could help pay for the servers I use for my other projects. At the time of this writing, this blog gets around 25,000 views per month, which is not much, but might be enough to pay for a couple of virtual machines (Hopefully. I’ll know more after I have ads running for some time).
Since this blog is built with Jekyll, I’m going to show how to add Adsense to similar blogs.
Creating a site in Adsense
Before we can start adding ads to our site, we need to tell Google that the site is ours. To do that we need click Add site on the Sites section:
We will then get a code that we should put in the <head> of our website. The code looks something like this:
1
<script data-ad-client="ca-pub-12345678987654321" async src="https://pagead2.googlesyndication.com/pagead/js/adsbygoogle.js"></script>
Depending on the Jekyll theme we are using, we might have different layouts for different types of pages. For example, I have a layout for my main page and a different one for a single article page. We need to add the code above to all the pages where we want to show ads.
After adding the code, we need to wait a few days for the registration to complete.
Auto Ads
Adsense has an Auto ads feature that let’s Google choose the best places to show ads in a page. This option is easy to implement but might result in showing ads in places that are very disruptive for users.
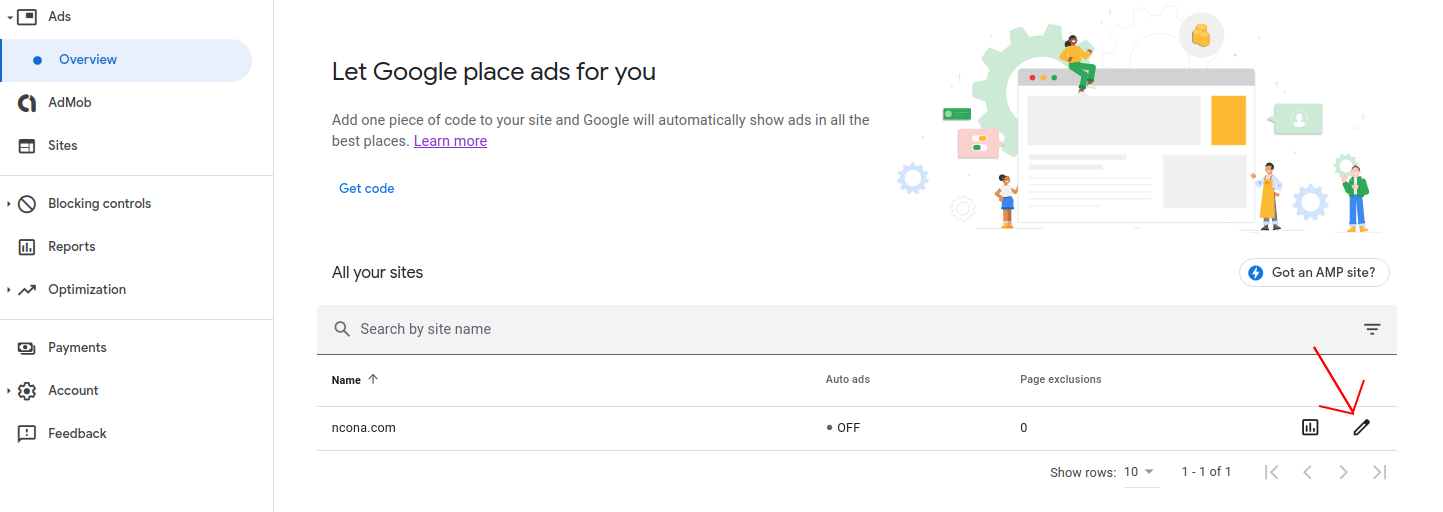
To enable it, we need to edit our site:
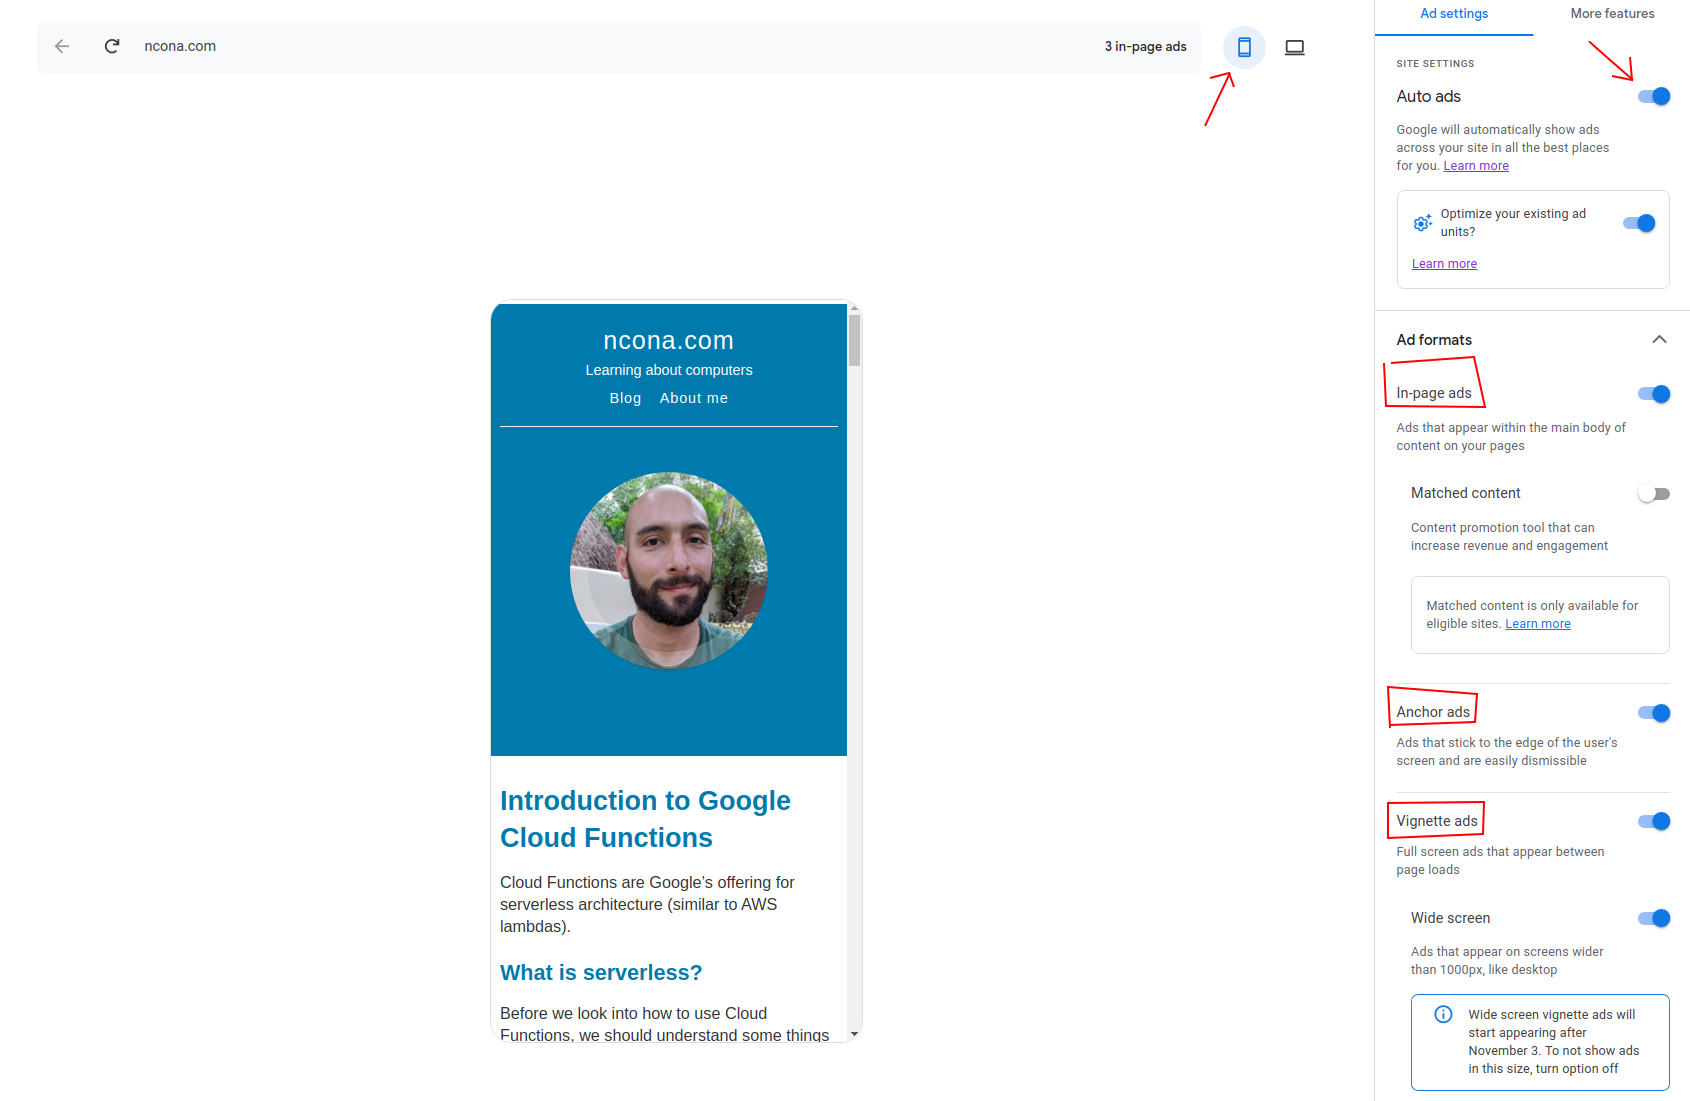
This takes us to a page where we can customize the ads we want to show for both desktop and mobile:
There are 3 types of ads offered at the time of this writing:
- In-page - Shows mixed with the page content
- Anchor - Pop-up that can be dismissed
- Vignette - Full screen ad shown when transitioning between pages
By looking at where the ads would be placed I decided I didn’t like having Google decide where to put the ads. If you decide to go for this option, I suggest to stick to in-page ads since the other 2 are very disruptive.
After enabling auto ads, it might take a couple of hours to start working on our site.
Ad units
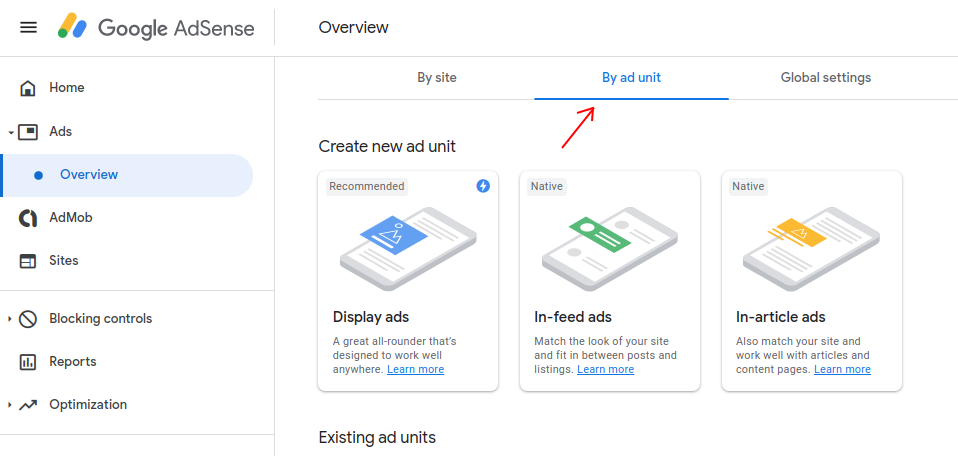
A way to have more control over where we put our ads is by using ad units:
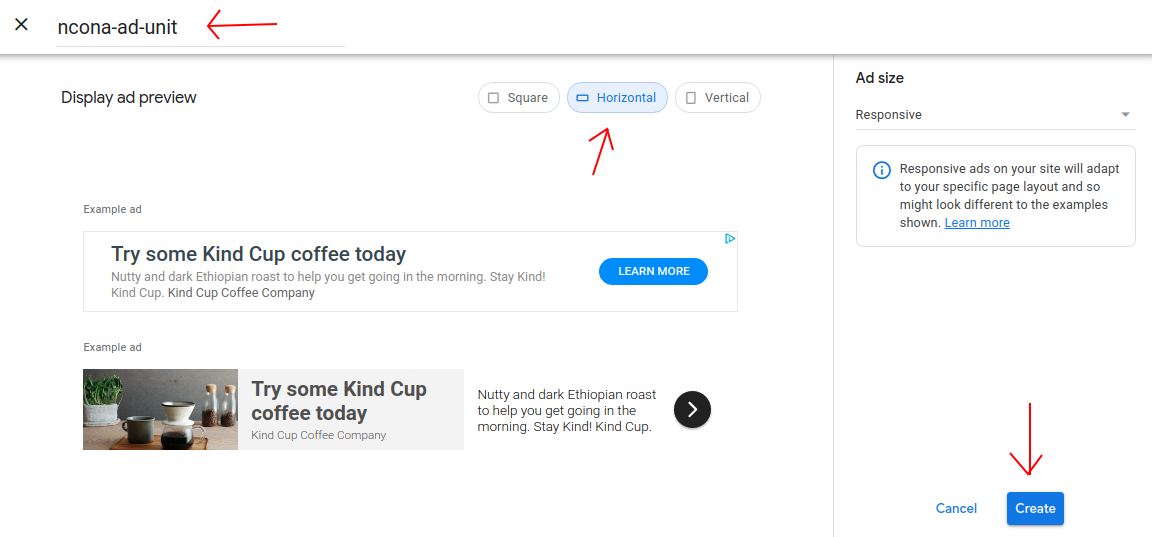
Display ads are a good option that works for both mobile and desktop. To create a unit we just need to give it a name, choose the orientation and click Create:
We will then be given a piece of code similar to the following:
1
2
3
4
5
6
7
8
9
10
11
<script async src="https://pagead2.googlesyndication.com/pagead/js/adsbygoogle.js"></script>
<!-- ncona-ad-unit -->
<ins class="adsbygoogle"
     style="display:block"
     data-ad-client="ca-pub-12345678987"
     data-ad-slot="1234567897"
     data-ad-format="auto"
     data-full-width-responsive="true"></ins>
<script>
     (adsbygoogle = window.adsbygoogle || []).push({});
</script>
We can then create an include for this snippet (_includes/adsense.html):
1
2
3
4
5
6
7
8
9
10
11
12
13
{% if jekyll.environment == "production" %}
<script async src="https://pagead2.googlesyndication.com/pagead/js/adsbygoogle.js"></script>
<!-- ncona-ad-unit -->
<ins class="adsbygoogle"
     style="display:block"
     data-ad-client="ca-pub-12345678987"
     data-ad-slot="1234567897"
     data-ad-format="auto"
     data-full-width-responsive="true"></ins>
<script>
     (adsbygoogle = window.adsbygoogle || []).push({});
</script>
{% endif %}
And then add this include wherever we want to show an ad. This is how my post layout looks:
1
2
3
4
5
6
7
8
9
10
11
12
13
14
15
16
17
18
19
20
21
22
23
24
---
layout: blog
---
<article class="post">
<div class="space-extra-small">
</div>
<div class="entry">
{{ content }}
</div>
<span>[
{% for tag in page.tags %}
{% capture tag_name %}{{ tag }}{% endcapture %}
<a href="/tag/{{ tag_name }}/"><code class="highligher-rouge"><nobr>{{ tag_name }}</nobr></code> </a>
{% endfor %}
]</span>
{% include adsense.html %}
{% include share-bar.html %}
{% include related-posts.html %}
{% include disqus.html %}
</article>
Ads don’t have any margins by default, so they look a little crowded.
We can add some margins with css (style.scss):
1
2
3
4
.adsbygoogle {
  margin-top: 12px;
  margin-bottom: 12px;
}
Paginate
I use jekyll-paginate to generate a paginated listing of all my posts. My index page looks something like this:
1
2
3
4
5
6
7
8
9
10
11
12
13
14
...
  {% for post in paginator.posts %}
  <article class="post">
    <h1><a href="{{post.url | prepend: site.baseurl}}">{{ post.title }}</a></h1>

    <div class="entry">
      {{ post.excerpt }}
    </div>

    <a href="{{post.url | prepend: site.baseurl}}" class="button button-primary">Read More</a>

  </article>
  {% endfor %}
...
I want to show ads on this page, but I don’t want to show an ad for each post.
Since each of my pages contains a maximum of 10 posts, I’m going to show an ad after the second post and another one after the sixth:
1
2
3
4
5
6
7
8
9
10
11
12
13
14
15
16
17
18
...
  {% for post in paginator.posts %}
  <article class="post">
    <h1><a href="{{post.url | prepend: site.baseurl}}">{{ post.title }}</a></h1>

    <div class="entry">
      {{ post.excerpt }}
    </div>

    <a href="{{post.url | prepend: site.baseurl}}" class="button button-primary">Read More</a>

    {% if forloop.index == 2 or forloop.index == 6 %}
    {% include adsense.html %}
    {% endif %}

  </article>
  {% endfor %}
...
Because I’m using the same snippet (adsense.html) in both places, they will always show the same ad. To add a little variety we can create a new ad unit from the Google Adsense console and create a new snippet for it. We can then use a different snippet for each position:
1
2
3
4
5
6
7
8
9
10
11
12
13
14
15
16
17
18
19
20
21
...
  {% for post in paginator.posts %}
  <article class="post">
    <h1><a href="{{post.url | prepend: site.baseurl}}">{{ post.title }}</a></h1>

    <div class="entry">
      {{ post.excerpt }}
    </div>

    <a href="{{post.url | prepend: site.baseurl}}" class="button button-primary">Read More</a>

    {% if forloop.index == 2 %}
    {% include adsense.html %}
    {% endif %}
    {% if forloop.index == 6 %}
    {% include adsense-2.html %}
    {% endif %}

  </article>
  {% endfor %}
...
We will now see a different ad on each position.
Ads.txt
In our adsense console we might be getting a message talking about ads.txt:
1
Earnings at risk - You need to fix some ads.txt file issues to avoid severe impact to your revenue.
This basically means that we need to create an ads.txt file and upload it to our site. This file tells the browser which advertisers are allowed to show content on our site. If we click the Fix it link next to the alert, we will have the option to download a file. We need to upload this file and make it available at <ourdomain>/ads.txt.
Conclusion
In this article I showed how we can start showing ads in a Jekyll site to make some money from a blog. I personally don’t like having Google choose where to put ads, so I showed how to place our ads manually using ad units.
automation productivity projects 
