In this article, I’m going to show how to write a simple program for Arduino UNO R4. I expect most of the steps I follow here can be used for other models of Arduino, but I’m going to be using the LED Matrix that come in the board and will only test on this model.
Installing the IDE
In order to compile and install our programs into our Arduino, we need to download the Arduino IDE. We can get it from the Arduino Software Page.
The installation instructions might vary depending on your OS. I use Ubuntu, so I downloaded the AppImage file.
In order to run AppImage files we need FUSE:
1
2
sudo add-apt-repository universe
sudo apt install libfuse2
Then we can just run the AppImage file:
1
2
chmod +x arduino-ide_2.2.1_Linux_64bit.AppImage
./arduino-ide_2.2.1_Linux_64bit.AppImage
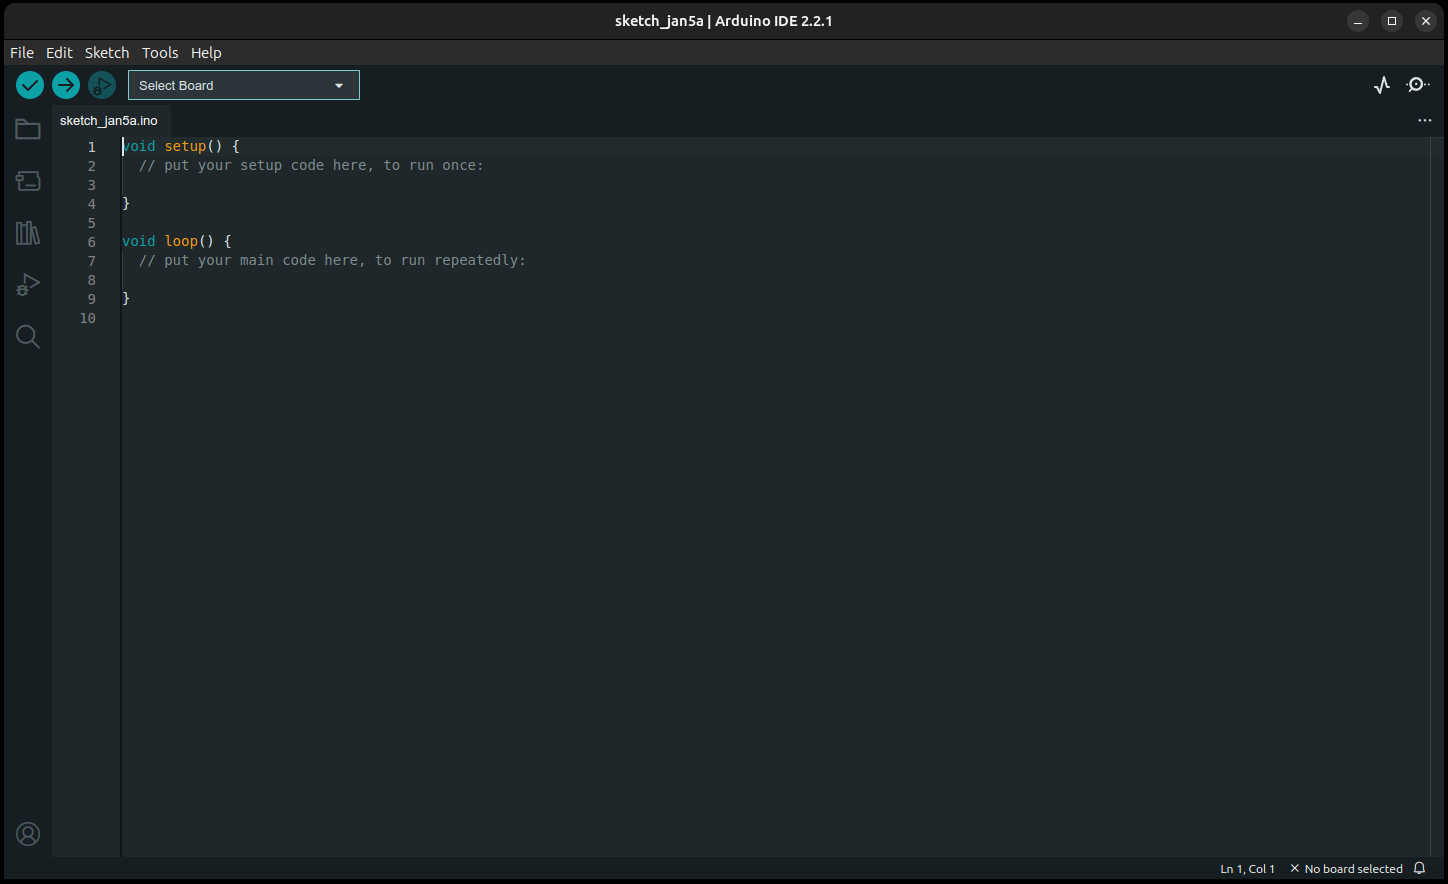
The IDE will open:
Creating a Sketch
Arduino programs are called sketches. In this section we are going to take advantage of the LED matrix included in Arduino UNO R4 to create our first sketch.
Our sketch will simply turn on all the LEDs in the matrix 1 by 1 and then turn them off 1 by 1. The code we are going to use is the following:
1
2
3
4
5
6
7
8
9
10
11
12
13
14
15
16
17
18
19
20
21
22
23
24
25
26
27
28
29
30
31
32
33
34
35
36
37
38
39
#include "Arduino_LED_Matrix.h"

ArduinoLEDMatrix matrix;

// Each byte with value different to 0 will turn on the corresponding LED
byte Time[8][12] = {
  { 0, 0, 0, 0, 0, 0, 0, 0, 0, 0, 0, 0 },
  { 0, 0, 0, 0, 0, 0, 0, 0, 0, 0, 0, 0 },
  { 0, 0, 0, 0, 0, 0, 0, 0, 0, 0, 0, 0 },
  { 0, 0, 0, 0, 0, 0, 0, 0, 0, 0, 0, 0 },
  { 0, 0, 0, 0, 0, 0, 0, 0, 0, 0, 0, 0 },
  { 0, 0, 0, 0, 0, 0, 0, 0, 0, 0, 0, 0 },
  { 0, 0, 0, 0, 0, 0, 0, 0, 0, 0, 0, 0 },
  { 0, 0, 0, 0, 0, 0, 0, 0, 0, 0, 0, 0}
};

void setup() {
  matrix.begin();
}

void loop() {
  // We loop all rows and all columns
  for (int i = 0; i < 8; i++) {
    for (int j = 0; j < 12; j++) {
      // Toggle the LED state
      if (Time[i][j] == 0) {
        Time[i][j] = 1;
      } else {
        Time[i][j] = 0;
      }

      // Re-render the matrix
      matrix.renderBitmap(Time, 8, 12);

      // Sleep for 100 miliseconds
      delay(100);
    }
  }
}
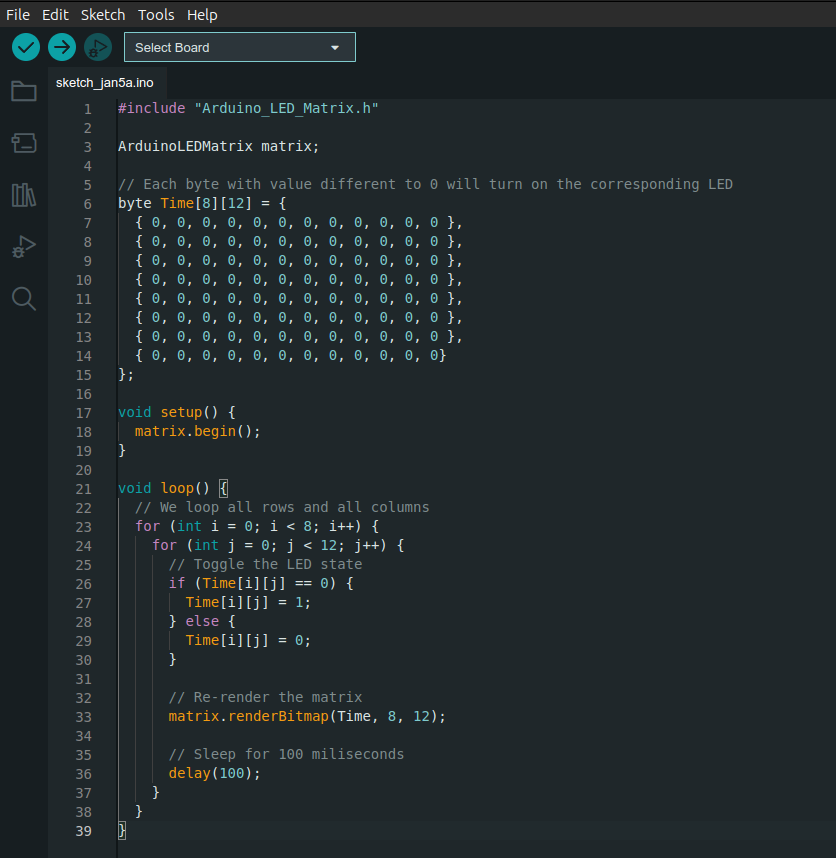
The first step is to copy this code on our IDE:
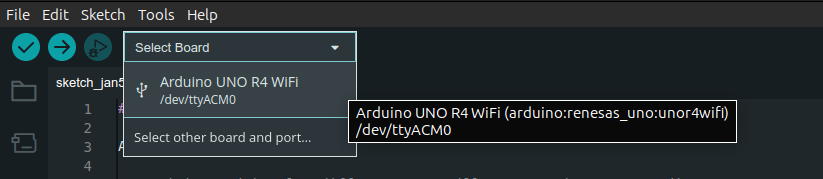
Then we need to connect our Arduino board to our computer using a USB cable, and select it on our IDE:
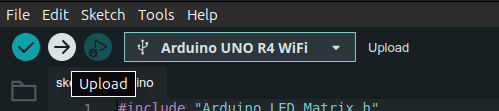
Finally, click the Upload button:
If you encounter any issues at this step, look at the troubleshooting section below.
It’s possible that we get a message asking us to install a board:
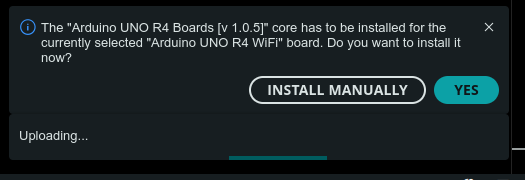
We just need to click YES.
If everything goes well, we’ll get a message saying that the upload is done:
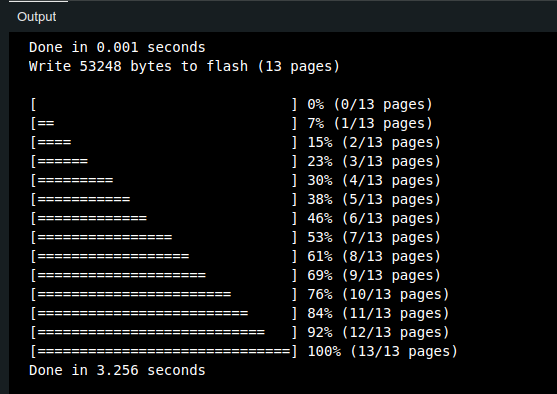
As soon as this happens, our Arduino will start running the program:

Troubleshooting
Permission denied on /dev/ttyACM0
I got this error when I tried to upload my sketch into my Arduino. I was able to fix it with this command:
1
sudo chmod a+rw /dev/ttyACM0
avrdude: stk500_recv(): programmer is not responding
This error means that there is some problem communicating with the Arduino board. To fix it, try disconnecting the USB cable and connecting it again. If that doesn’t work, using a different cable might help.
Conclusion
In this article we learned how to use the Arduino IDE to write a program, upload it to our board and have the board run it.
arduino electronics programming