I’m building a little web server with Rust and as part of it, I’m going to need to send some e-mails to my users. I found a few services that offer an e-mail API with a free tier, and decided to go with Brevo.
Authenticating our domain
In order for our e-mails to reach our users’ inboxes, we need to correctly configure our DKIM and DMARC records so they can be used by Brevo.
We can’t authenticate e-mails from free email providers like Gmail. So, before we can authenticate our domain, we need to own a domain. I’m going to use my blog’s domain (ncona.com).
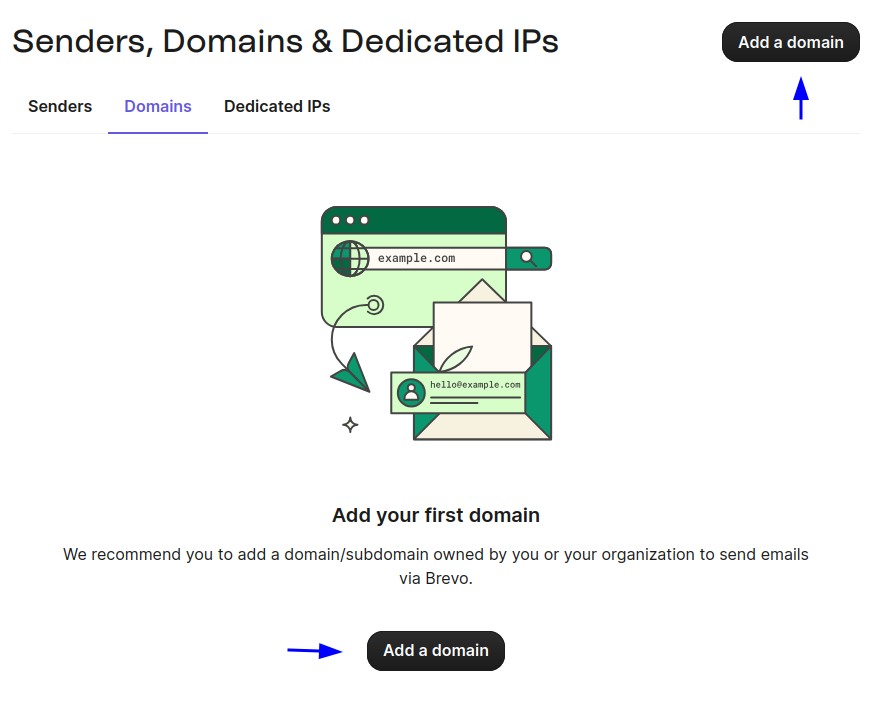
Once we have a domain, we need to add it to our domains list. Click one of the Add a domain buttons to do that:
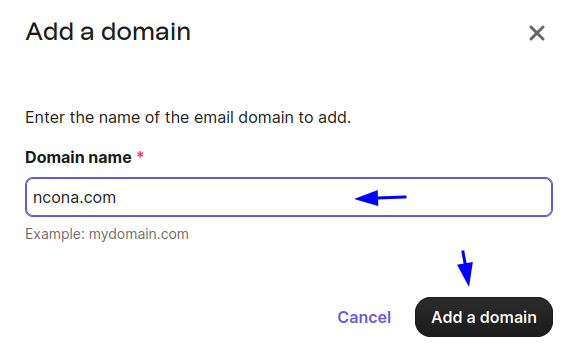
A pop-up will open. We just need to fill our domain name and click Add a domain:
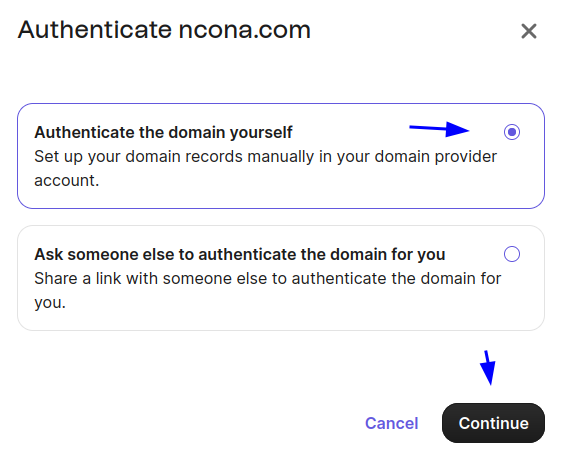
A new pop-up will ask us if we want to authenticate ourselves, or someone else will do it. We’ll choose to do it ourselves:
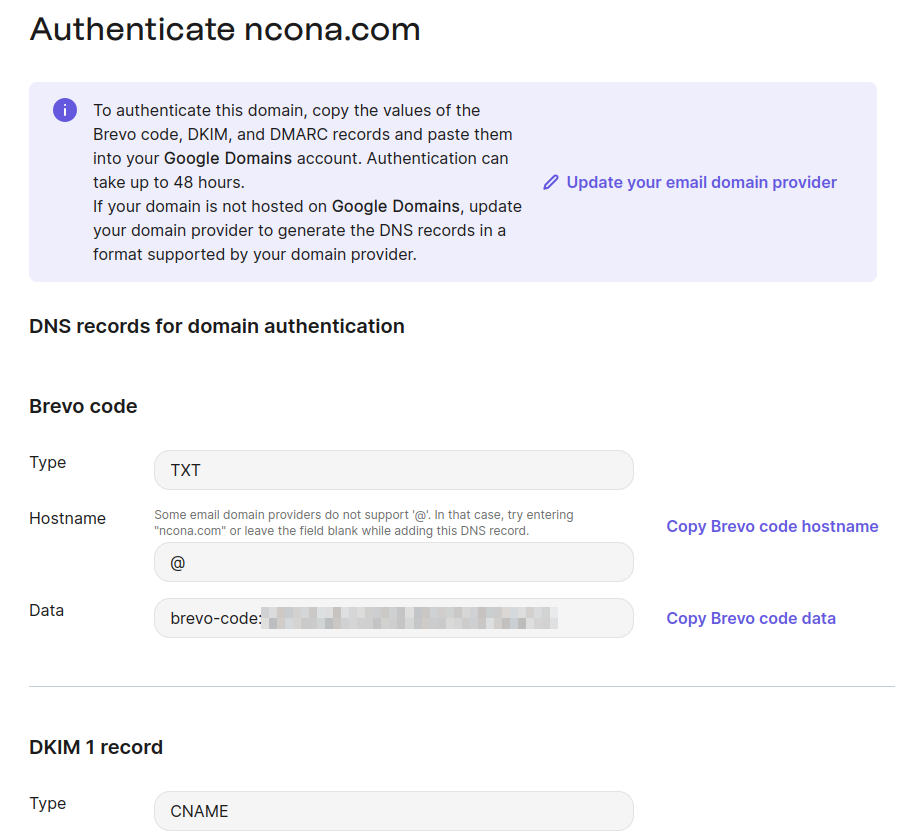
In the next screen, we will be presented with a few DNS records we will need to add to our domain’s DNS provider:
After setting those DNS records, we can click Authenticate this email domain to let Brevo do the authentication.
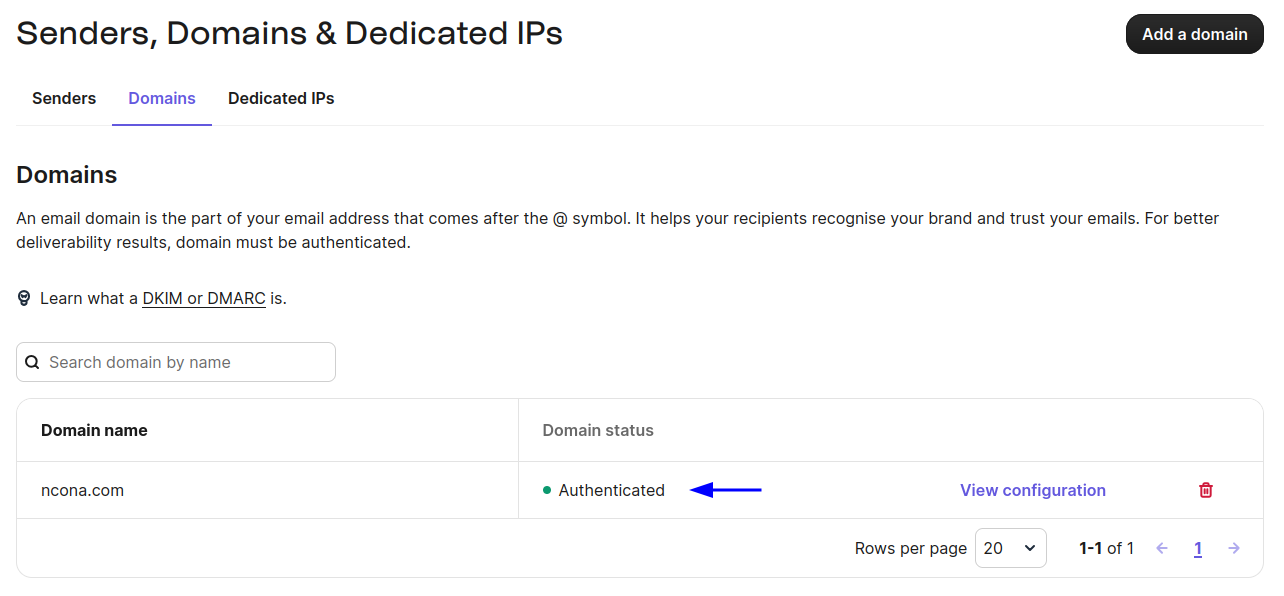
Once the domain is authenticated, we will be able to see it in our domains list:
Generating an API key
In order to generate an API key, we just need to go to the API keys page and click Generate a new API key:
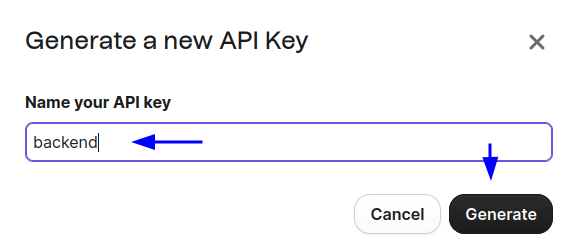
A pop-up will open asking for a name for our API key:
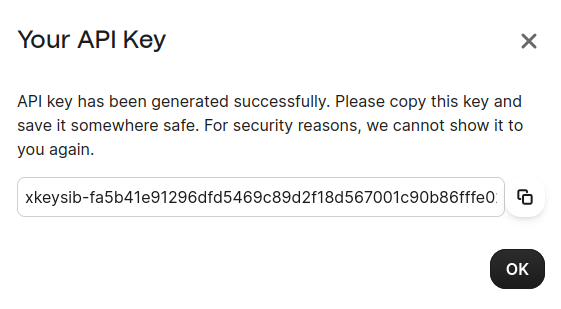
Then our key will be presented to us:
It’s important to keep this key safe, as it allows the holder to send e-mails from our Brevo account.
Handling configurations
Since our Brevo key is a secret, we need a way for our system to access it, without embedding it in the code. To achieve this, we can use the config crate.
This crate allows us to easily read configurations from environment variables so we can use them in our code.
We’ll start by defining some structs where we’ll store our configurations:
1
2
3
4
5
6
7
8
9
#[derive(Debug, Deserialize)]
pub struct Mail {
    pub api_key: String,
}

#[derive(Debug, Deserialize)]
pub struct Settings {
    pub mail: Mail,
}
We can then use the config library to load our environment variables into these structs. A good place to do this is in the new function of the root struct:
1
2
3
4
5
6
7
8
9
10
11
12
13
14
15
16
impl Settings {
    pub fn new() -> Self {
        let s = match Config::builder()
            .add_source(Environment::with_prefix("APP").separator("__"))
            .build()
        {
            Ok(s) => s,
            Err(err) => panic!("Couldn't build configuration. Error: {}", err),
        };

        match s.try_deserialize() {
            Ok(s) => s,
            Err(err) => panic!("Couldn't deserialize configuration. Error: {}", err),
        }
    }
}
Notice how we define APP as prefix, and __ as separator. This means that to set the api_key field, we need this environment variable:
1
APP__MAIL__API_KEY
Sending an e-mail
Now that our API key is available in our code, we can use reqwest to send e-mails. In this example, we’re going to use the blocking client, as it’s the simplest, but reqwest also has an async client that is more fitting for production use.
According to Brevo’s API, the body of the request needs to be something like this:
1
2
3
4
5
6
7
8
9
10
11
12
13
14
let body_str = r#"{
    "sender": {
        "name": "Sender name",
        "email": "sender@yourdomain.com"
    },
    "to": [
        {
            "name": "Recipient name",
            "email": "recipient@email.com"
        }}
    ],
    "subject": "Testing brevo",
    "htmlContent": "<html><body>Hello, world!</body></html>"
}"#;
To send the request, we can use this code:
1
2
3
4
5
6
7
8
9
10
11
12
13
14
15
16
17
18
19
20
let body: serde_json::Value = serde_json::from_str(&body_str).expect("Invalid JSON");

let s = Settings::new();

let client = reqwest::blocking::Client::new();
match client.post("https://api.brevo.com/v3/smtp/email")
        .header("accept", "application/json")
        .header("content-type", "application/json")
        .header("api-key", s.mail.api_key)
        .json(&body)
        .send() {
    Ok(res) => {
        println!("Status: {}", res.status());
        match res.text() {
            Ok(rt) => println!("Response: {}", rt),
            Err(err) => panic!("Error: {}", err),
        }
    },
    Err(err) => panic!("Error sending the request. Error: {}", err),
}
Note how we use s.mail.api_key to access our API key.
Conclusion
E-mail API providers make it very easy to send e-mails to our users. The most important step is to allow the provider to send those e-mails from our domain by setting the correct DNS records.
As usual, you can find a working version of the code in this article in my examples’ repo.
rust programming automation 