I have a few projects that I host on Bitbucket (Mostly because I can have private repos for free). As I was working on some of these projects last week, I realized that there are a lot of manual steps I have to execute in order to verify that my project is in good health and to publish it or deploy it.
Today I’m going to explore using Bitbucket’s Pipelines to generate a Docker image out of one of my projects and publish it to Canister.
Pricing
Although Bitbucket Pipelines have a free tier, it only allows 50 build minutes a month. This is a pretty low limit most people will probably reach pretty quickly. The next tier is for $10 USD a month, so I’ll analyze moving to that tier if I find the service worth it.
Goals
My main goal for this project is to automatically publish a Docker image to Canister for each push to my repo. For this to work, I will have to do a few things:
- Tag every successful build with a consecutive number (1, 2, 3 …)
- Create a docker image from that build and tag it with the same build number
- Publish to Canister
Creating a Pipeline
Pipelines are configured by creating a bitbucket-pipelines.yml file. Since what I want to do is build a docker image for my project, I’m going to follow the Docker sample and modify it:
1
2
3
4
5
6
7
8
9
10
11
12
13
# enable Docker for your repository
options:
  docker: true

pipelines:
  branches:
   # This means that I want to run this pipeline only for commits on master
    master:
     # Currently there can only be one step per pipeline
      - step:
          script:
           # But there can be multiple scripts here
            - sh scripts/publish.sh
I added some comments to explain what is going on. Most of the magic happens inside scripts/publish.sh.
1
2
3
4
5
6
7
8
9
10
11
12
13
14
15
16
17
# Constants
PROJECT='ncona'
REGISTRY_URL='cloud.canister.io:5000'

# Tags the current commit with the next consecutive number (1, 2, 3 ...)
LAST_TAG=$(git describe --tags $(git rev-list --tags --max-count=1))
NEW_TAG=$((LAST_TAG + 1))
git tag $NEW_TAG
git push origin $NEW_TAG

# Build docker image
docker build . --tag $PROJECT

# Publish docker image
docker login --username=$REGISTRY_USERNAME --password=$REGISTRY_PASSWORD $REGISTRY_URL
docker tag $PROJECT "$REGISTRY_URL/$REGISTRY_USERNAME/$PROJECT:$NEW_TAG"
docker push "$REGISTRY_URL/$REGISTRY_USERNAME/$PROJECT:$NEW_TAG"
The script is commented to make it easier to understand. We use some shell magic to generate the tag number, but otherwise things are pretty simple. This script won’t actually work until we take care of two things: define the secret environment variables REGISTRY_USERNAME and REGISTRY_PASSWORD, and give the worker the correct SSH key so it can push the tag to our repo.
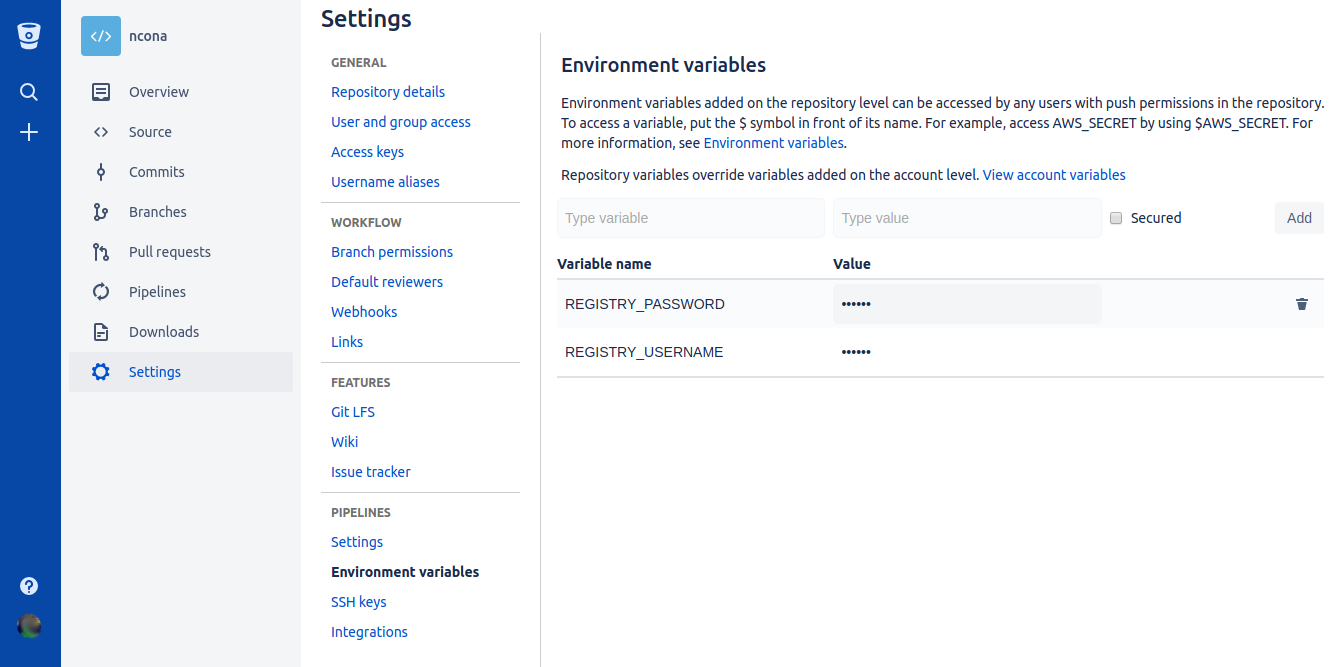
Secure environment variables
The script above needs to log in to Canister in order to push the generated Docker image. We don’t want to allow anybody to push to our repository, so we need to authenticate before we can push. Bitbucket allows you to save the environment variables online and they will be securely stored for you. The variables can be created on a repository level or an account level:
SSH key
For this specific scenario in which I want to tag each successful commit, I need the worker running my Pipeline to be able to push to my repository. This requires two steps:
First, we need to generate a new SSH key for our workers. This can be done from the repository settings:
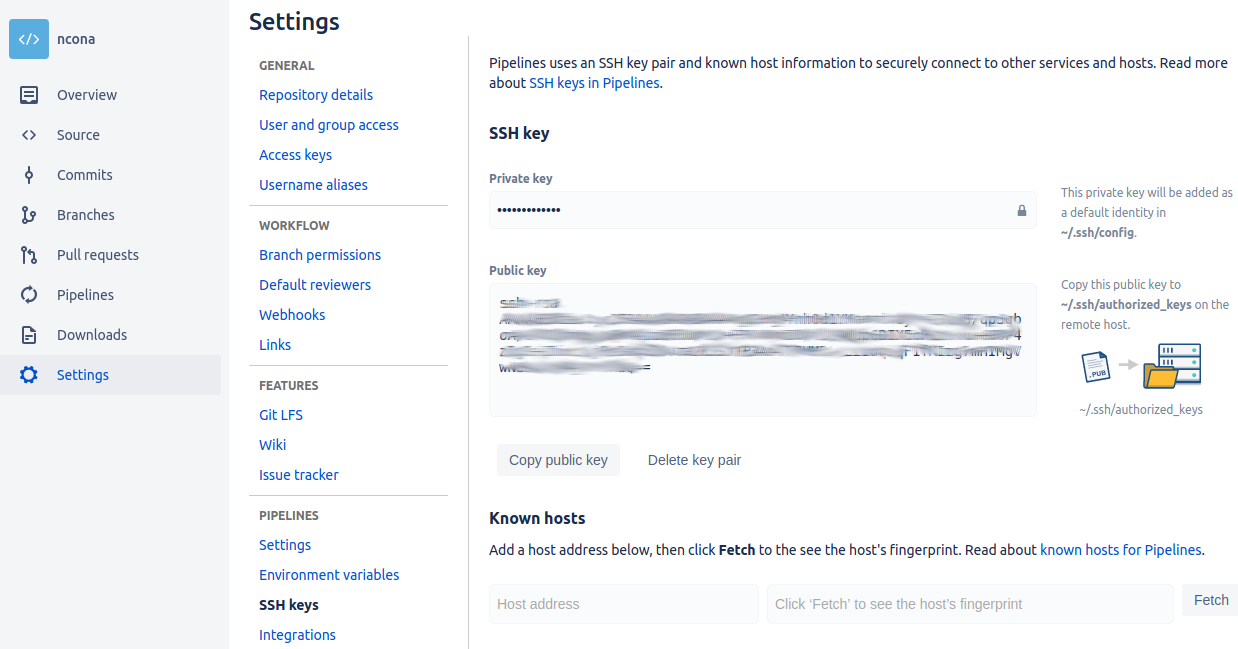
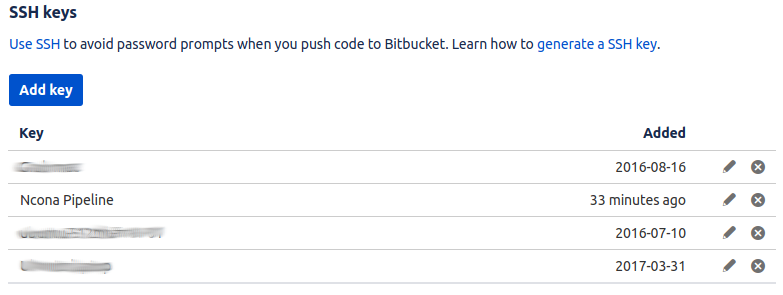
Finally, since I want this key to have write access to the repo, I have to add the public key to the list of my user’s SSH keys:
After all this, I can have my pipeline automatically publish all my commits to canister so I can deploy whenever I want.
automation bash docker